This guide is for players who have completed the early story content and want to understand the deeper systems in Neverness to Everness: Esper builds, faction mechanics, the break threshold loop, and the city layers most players never fully reach
Most players finish the first story arc and feel like they have seen the game. They have seen maybe a third of it. The systems that make Hethereau interesting at depth are not hidden. They are just layered on top of each other in ways that take time to untangle.
How the Esper build system actually works at depth
Most players run whatever characters the game gave them early on and assume the combat system is mostly cosmetic. The game does not explain this very well, but the Esper type combination you bring to an encounter changes the damage ceiling in ways that matter significantly in the mid and late game.
Each character carries one of six Esper types. When you bring two or more characters whose types have a resonance relationship, the encounter damage calculations apply a multiplier to specific attack categories. The resonance table is in the Companion menu but it is small and easy to miss.
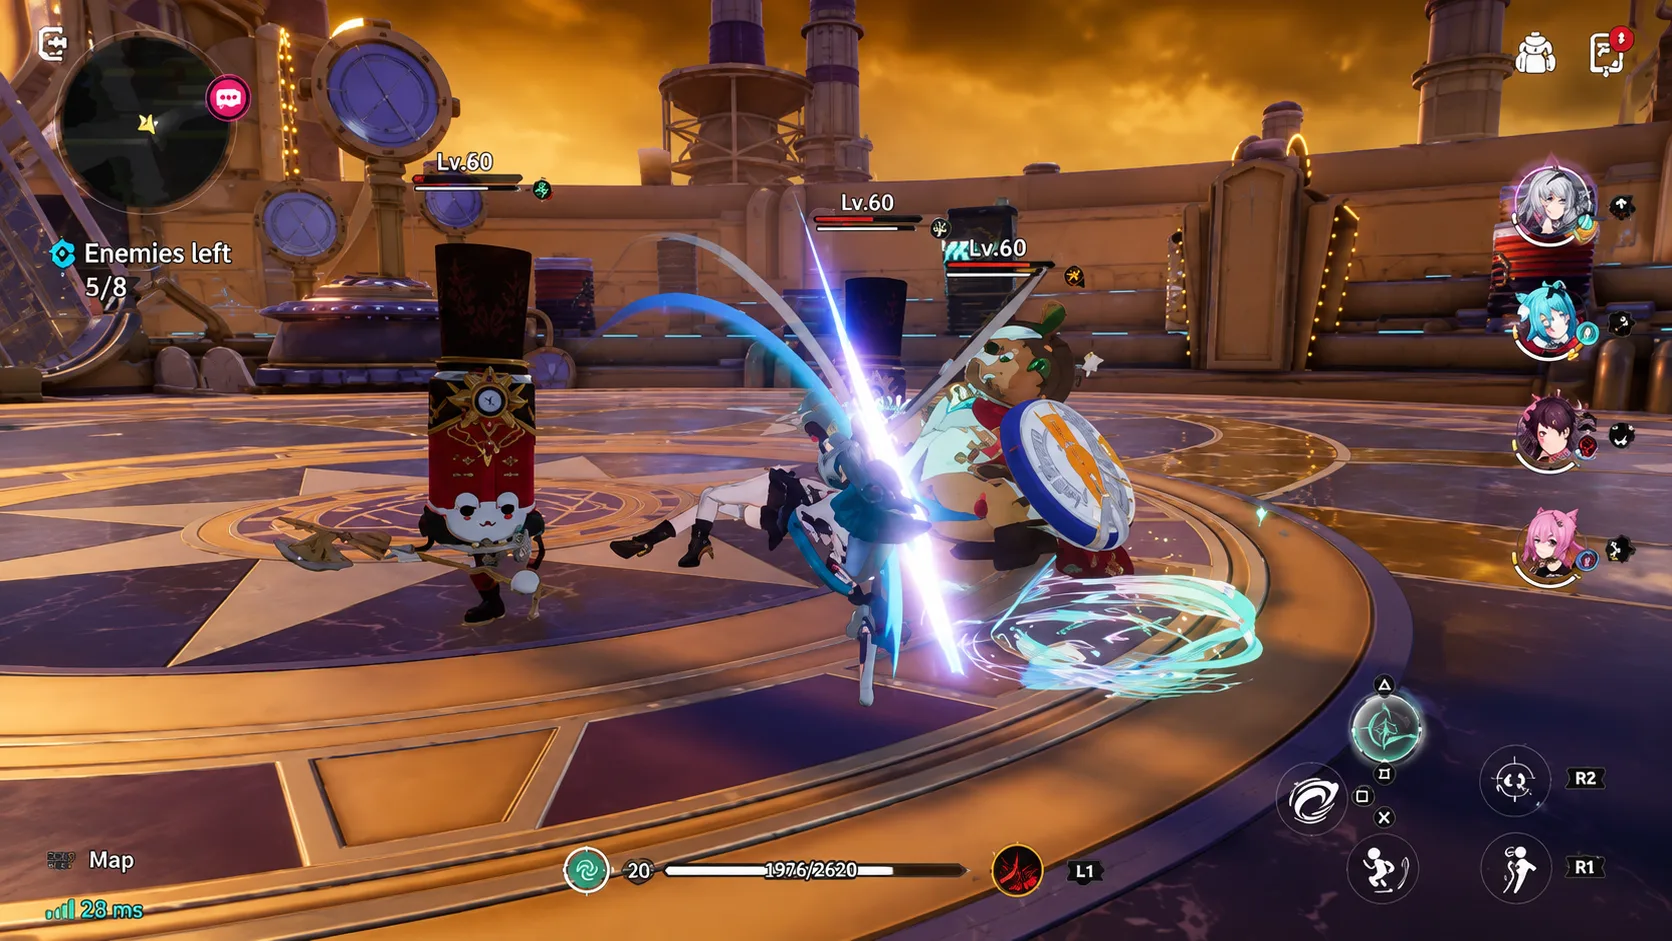
The practical effect is significant. A correctly paired team of A-rank characters regularly outperforms a mismatched team of S-rank characters in the same anomaly zone. The break threshold mechanic connects directly to team composition. Every anomaly enemy has a secondary health bar that, when depleted, triggers a stagger window. Certain Esper types break this bar faster than others. Building one break-specialist into your team and two damage dealers means your stagger windows are consistent rather than occasional.
| Mechanic | What it does | When it matters |
|---|---|---|
| Esper resonance | Damage multiplier on matched type combinations | Every fight from mid-game onward |
| Break threshold | Stagger window triggered when secondary bar depletes | Boss encounters and elite anomalies |
| Chain cancel | Ability trigger without cooldown in a specific post-attack window | Any encounter where ability timing matters |
| Resonance extension | Extended chain cancel window during active resonance bonus | Builds that intentionally stack resonance triggers |
| Faction reputation | Passive ability unlock at reputation tier thresholds | Long-term build optimization |


The faction system and what it unlocks
Faction reputation is one of the least-explained systems in Hethereau and one of the most rewarding. Each of the city's major factions has a separate reputation track, and hitting the threshold levels on each track unlocks passive abilities for your entire team, not just characters affiliated with that faction.
The practical path to reputation is through faction-specific commissions on the Eibon board, faction zone anomaly investigations, and NPC interactions flagged with the faction's color indicator. The passive abilities that unlock at tier two and tier three on most faction tracks change how specific Esper types behave in encounters rather than just providing flat stat increases.
The underground market district has faction content that most players miss entirely because it is not connected to the main quest markers. The faction present there has a reputation track that unlocks an ability interaction with the city vehicle system. Specifically, vehicles registered from that faction's collection gain a passive speed and handling modifier that applies during anomaly response drives.
Market faction
Reputation tier two unlocks vehicle handling modifier during anomaly drives
Eibon faction
Tier three unlocks a commission multiplier that increases resource output
Hunter faction
Tier two unlocks an investigation bonus that accelerates break threshold depletion
City faction
Tier three unlocks a reputation passive that affects NPC interaction outcomes
Collector faction
Tier two unlocks a vehicle acquisition discount at the garage
Intelligence faction
Tier three unlocks an anomaly detection passive that reveals elite anomaly locations early
The city content most players miss after the main story
The main story content takes most players through the central and eastern districts primarily. The western and northern districts have content that connects directly to the advanced faction system and opens up after chapter three of the main story.
The western district has a questline that requires tier two reputation with the intelligence faction before it becomes available. Most players reach that reputation naturally by mid-game but do not know to check the western district for new content. The questline unlocks a weapon upgrade mechanic that is not available anywhere else in the game.
-
Check the intelligence faction reputation track Tier two unlocks the western district questline. Most players hit this threshold naturally but never check for new content
-
Return to the apartment system at rank three Apartment rank three requires furniture category completions. It unlocks a daily passive that provides one of the most consistent resource generation mechanisms in the late game
-
Use the off-roster ability slot Available after chapter three and apartment rank two. Most players treat it as a secondary feature. It changes what is possible with team composition entirely
-
Check the underground market faction The reputation track there unlocks vehicle modifiers during anomaly drives. Most guides skip this entirely
-
Coordinate faction reputation progression Pushing multiple faction tracks simultaneously via the commission board is more efficient than focusing on one at a time
Advanced build optimization
The ability loadout system allows you to assign specific abilities from your full character roster to active and passive slots independently of the characters currently in your party. The practical implication is that you can run ability combinations that include abilities from characters who are not in your active team.

The abilities fire during specific resonance trigger windows and scale with the relevant Esper type regardless of which character initiates the trigger. This system is relevant for players who have unlocked multiple characters but find their combat ceiling limited by party composition.
This system is relevant for players who have unlocked multiple characters but find their combat ceiling limited by party composition. The off-roster ability slot changes the calculation significantly for anyone who has been treating it as a secondary feature
The game's depth is not gated behind premium content. It is gated behind systems that take time and attention to unlock. Players who invest in faction reputation, team resonance, and the western district questline are playing a substantially different game than players who stopped at the main story
Honest assessment at depth
After significant time in Hethereau's deeper systems, the picture becomes clear. The ceiling is genuinely high for players willing to engage with it.
The advanced systems reward patience and repeated engagement in ways that the early content does not make obvious. That is both the appeal and the friction.
- The Esper resonance system creates genuine build depth that changes the combat ceiling meaningfully
- Faction reputation unlocks connect city systems and combat systems in ways that reward long-term engagement
- The western district questline and apartment rank system add substantial late-game content that most players never find
- The off-roster ability slot changes what is possible with team composition once you understand how it works
- The game does not explain the resonance system, faction thresholds, or off-roster ability mechanics clearly
- The western district content requires tier two intelligence faction reputation, which is easily missed without knowing to pursue it
- Apartment rank three requires furniture category completions that are not clearly signposted in the UI
The depth in Neverness to Everness is real and substantial. It takes engagement to reach, and the game does not always make it easy to find. For players willing to look, there is significantly more here than the surface content suggests

i genuinly had no idea the resonance system worked this way until about hour thirty. i thought i was maxing out my team and then rebuilt around the resonance table and everything changed. the game really does not explain this